GPUs are only supported on fixed node groups because cost optimization does not currently support GPU instances. This means you select a specific GPU instance type and Porter scales by adding or removing instances of that exact type.
Creating a GPU Node Group
1
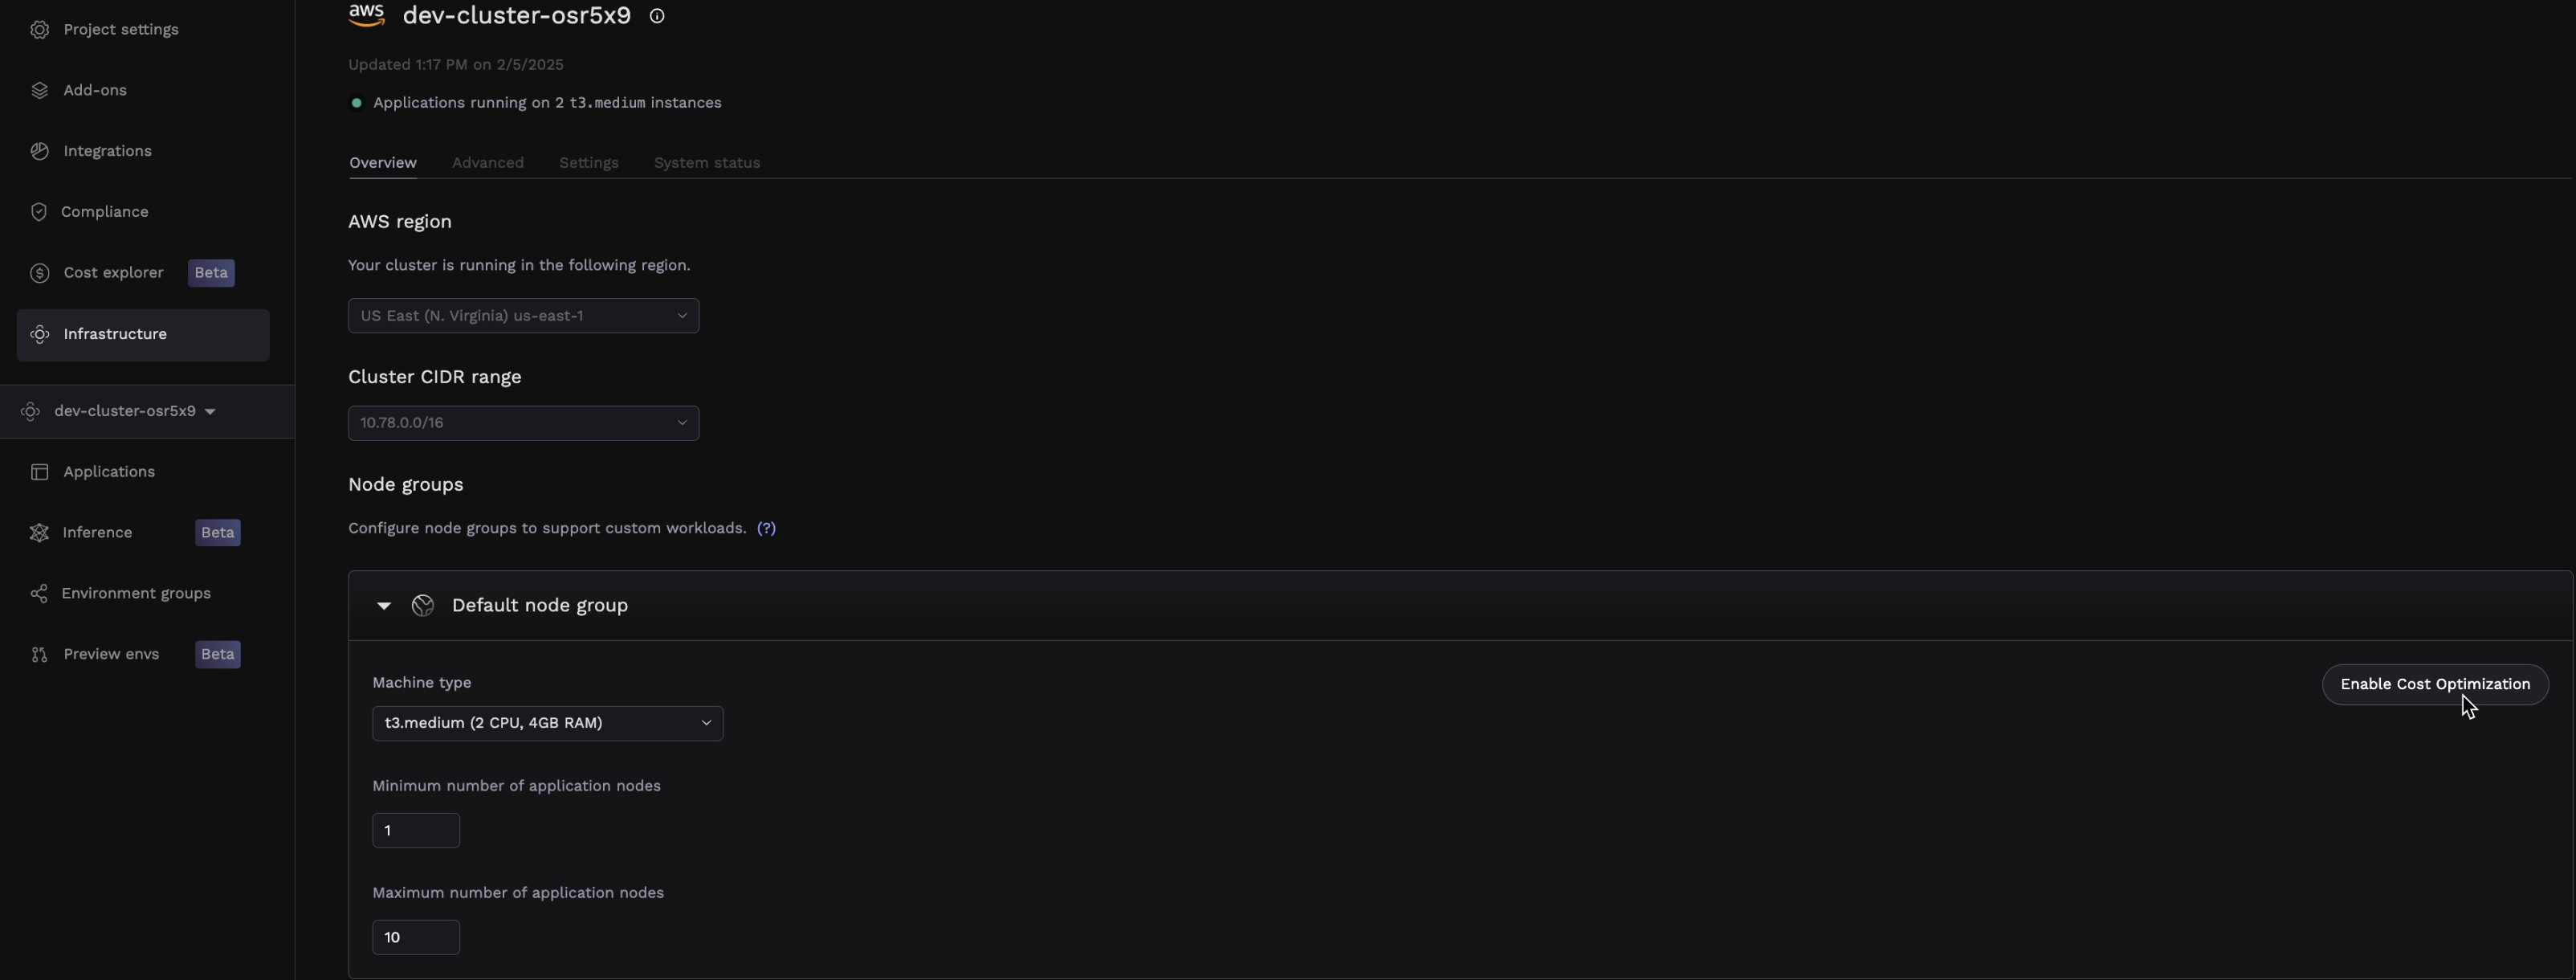
Navigate to Infrastructure
From your Porter dashboard, click on the Infrastructure tab in the left sidebar.
2
Select your cluster
Click on Cluster to view your cluster configuration and existing node groups.
3
Add a node group
Click Add an additional node group to open the node group configuration panel.
4
Configure the GPU node group
Configure your GPU node group with the following settings:
| Setting | Description |
|---|---|
| Instance type | Select a GPU-enabled instance type (see table below) |
| Minimum nodes | Select minimum number of nodes that will be available at all times |
| Maximum nodes | The upper limit for autoscaling based on demand |
5
Save and provision
Click Save to create the node group. Porter will provision the GPU nodes in your cluster. This may take a few minutes as GPU nodes often require additional driver installation.
Deploying a GPU Application
Once your GPU node group is ready, you can deploy applications that use GPU resources.1
Create or select your application
Navigate to your application in the Porter dashboard, or create a new one if you haven’t already.
2
Go to the Services tab
Click on the Services tab to view your application’s services.
3
Select the service
Click on the service that needs GPU access (e.g., your inference worker or training job).
4
Assign to the GPU node group
Under General, find the Node group selector and choose your GPU node group from the dropdown.
5
Configure GPU resources
Under Resources, configure your GPU requirements:
| Setting | Recommended Value |
|---|---|
| GPU | Number of GPUs needed (typically 1) |
| CPU | Match your workload needs (GPU instances have fixed CPU/RAM ratios) |
| RAM | Match your workload needs |
Request only the GPUs you need. Each GPU request reserves an entire GPU.
6
Save and deploy
Save your changes and redeploy the application. Porter will schedule your workload on the GPU node group.
Troubleshooting
Pod stuck in Pending state
Pod stuck in Pending state
This usually means there are no available GPU nodes. Check:
- The node group has scaled up (check Infrastructure → Cluster)
- Your GPU request doesn’t exceed available GPUs on the instance type
- The node group maximum nodes hasn’t been reached
Out of memory errors
Out of memory errors
GPU memory errors indicate your model or batch size is too large:
- Reduce batch size
- Use a larger GPU instance with more VRAM
Slow cold starts
Slow cold starts
GPU nodes take longer to start than CPU nodes due to driver initialization:
- Keep minimum nodes at 1 for latency-sensitive workloads
- Consider keeping a warm pool of nodes during peak hours